The Ultimate Guide to DIY Lash Extensions

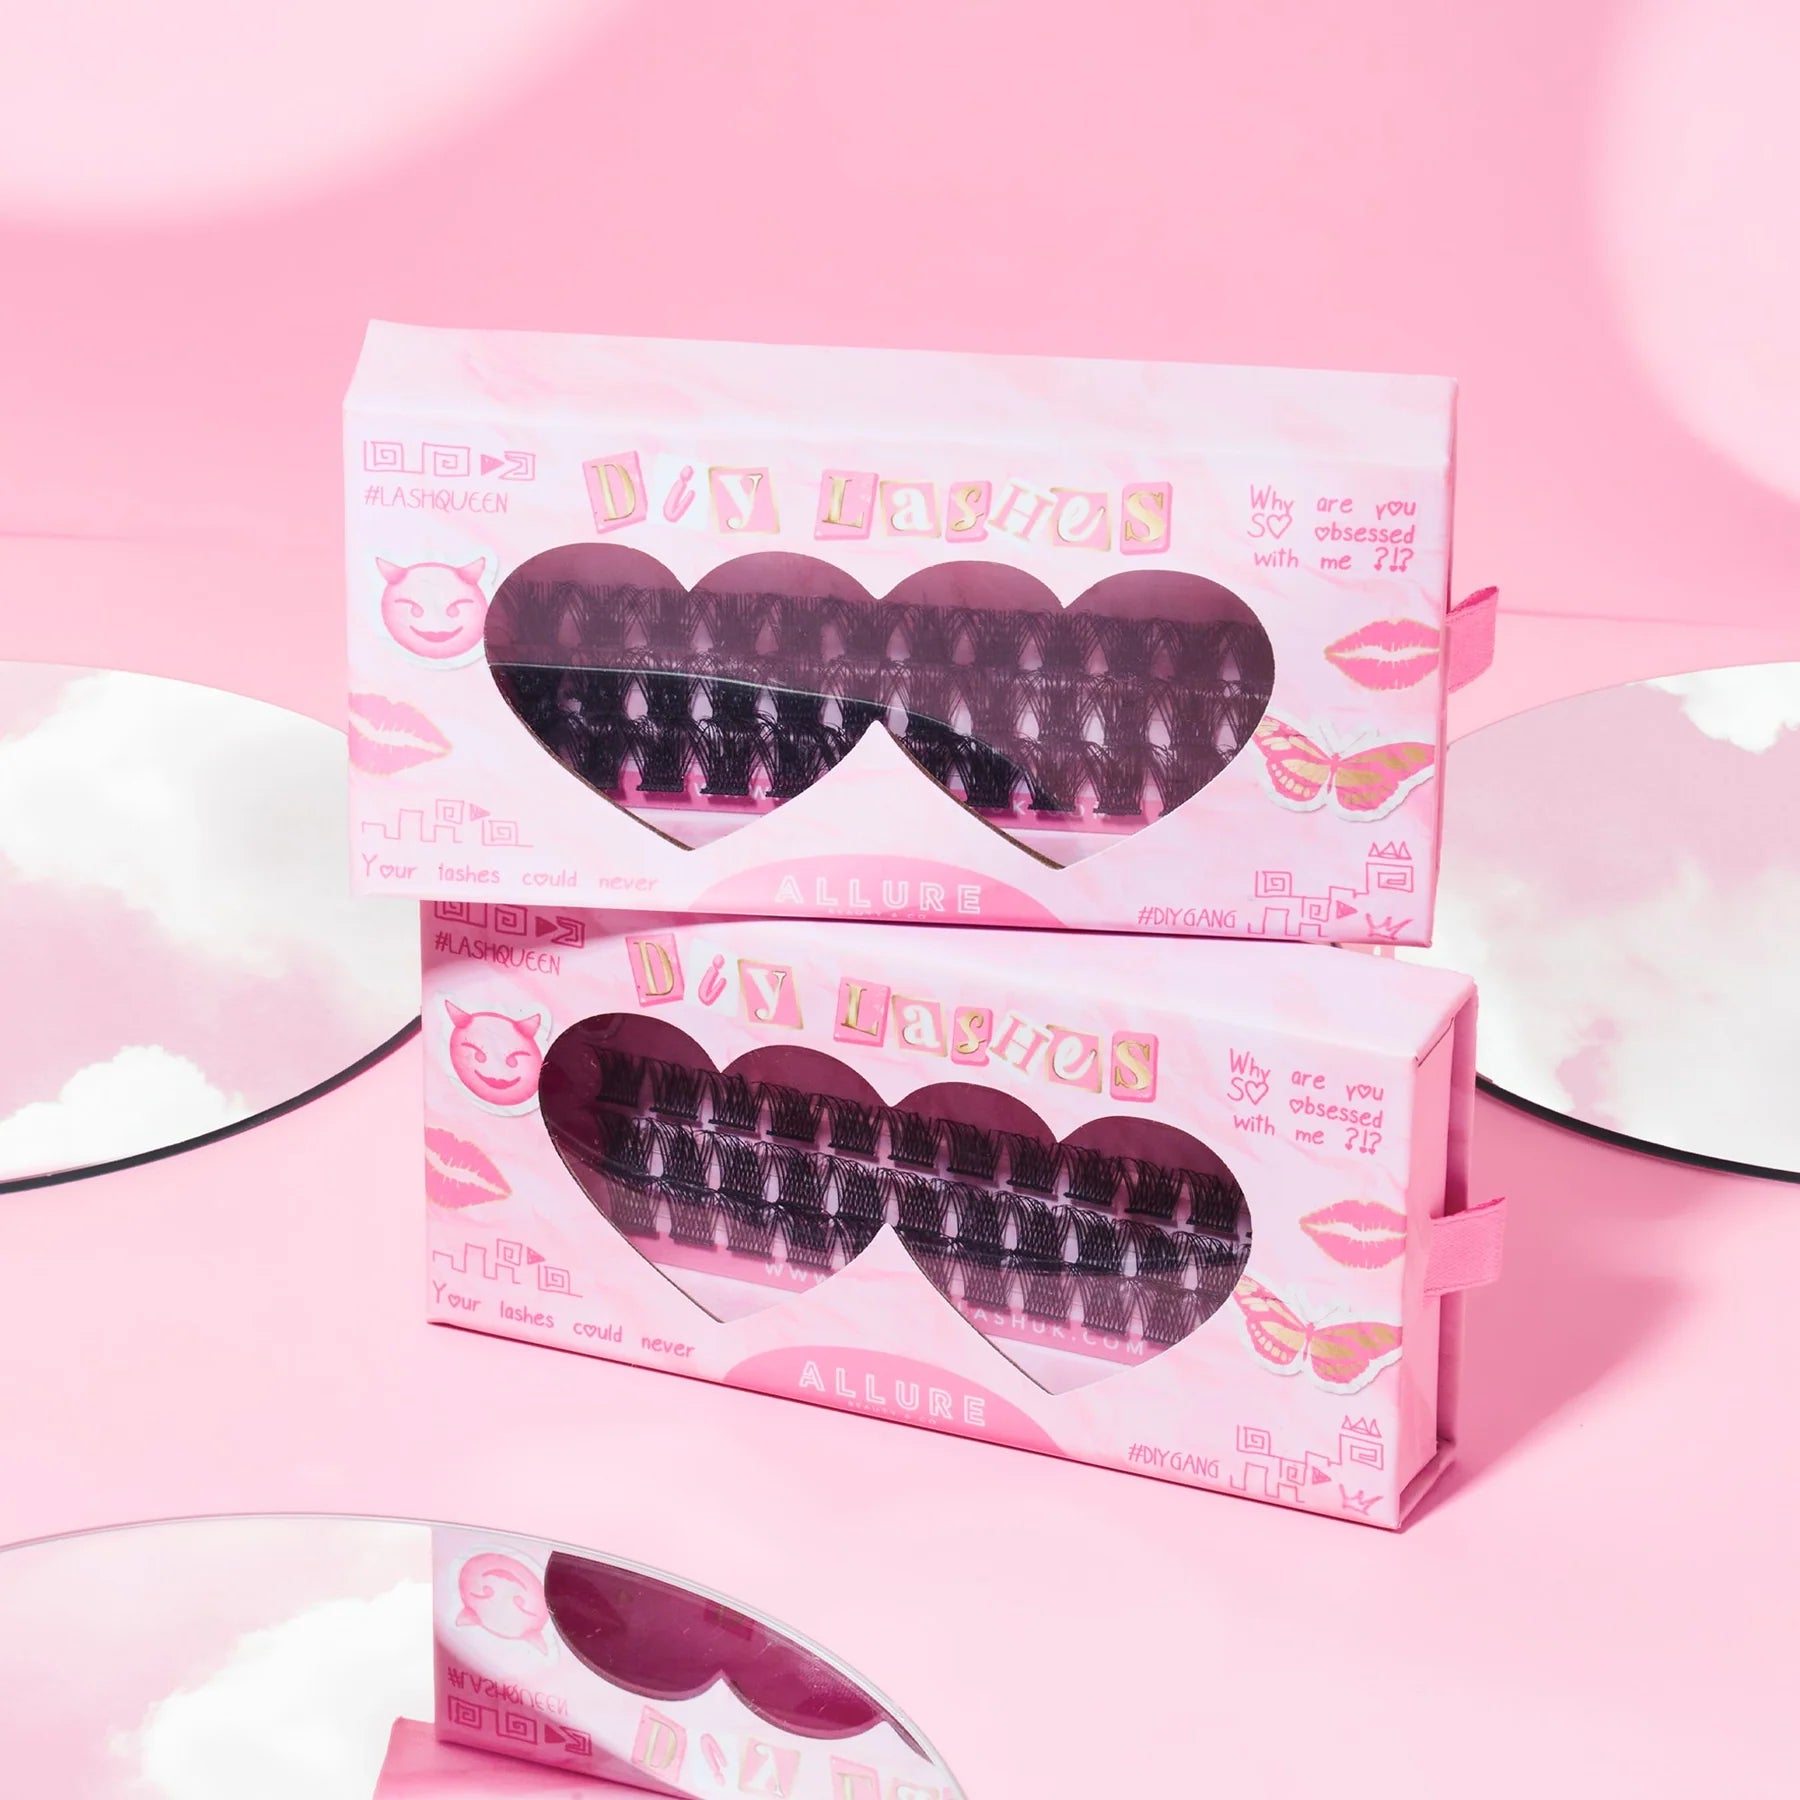
Dreaming of lush, voluminous lashes without the regular salon visits? DIY lash extensions might be the perfect solution for you. With our DIY Lash Kit you can achieve stunning results from the comfort of your own home. Here’s everything you need to know to get started with DIY lash extensions.
Why Choose DIY Lash Extensions?
1. Cost-Effective: Salon lash extensions can be expensive, especially with regular touch-ups. DIY kits are a more affordable option that can save you money in the long run.
2. Convenience: No more scheduling appointments and traveling to salons. You can apply and maintain your lashes on your own time, at your own pace.
3. Customisation: With DIY lash extensions, you have full control over the length, volume, and style, allowing you to tailor the look to your exact preferences.
4. Lasting: Paired with our 2 in 1 bond our DIY lashes last 7-10 days! Perfect for last minute get aways.
Step-by-Step Application Guide:
1. Prep Your Natural Lashes: Start with clean, makeup-free lashes. Use a gentle lash cleanser to remove any oils or residue. This ensures the glue bonds properly.
2. Choose Your Lashes: Decide on the length and style of the lashes you want to apply. For a natural look, mix different lengths to mimic the natural growth pattern. Choose between our Kendall (Natural Glam) or Kylie (Fuller look).
3. Apply the Adhesive: Apply the 'Bond' end of our 2 in 1 like a mascara underneath the lashes. Only apply this to the base of your lashes. Using tweezers, pick up a single lash extension. Dip the base into a small amount of adhesive. Less is more; too much glue can make the lashes look clumpy.
4. Placement: Carefully pick up a lash with our tweezers and place the lash extension below your natural lash, about 1-2mm away from the lash line. Press gently to secure. Hold for a few seconds to allow the adhesive to set.
5. Repeat: Continue applying lashes, working from the outer corner of the eye towards the inner corner. Ensure even spacing and avoid clumping.
6. Bond: Once all lashes are applied, use the 'Bond' end of the 2 in 1 to bond the lash glue and make them last 7-10 days!
Potential Pitfalls and How to Avoid Them
- Using Too Much Adhesive: This can cause clumping and irritation. Use a minimal amount for a clean look.
- Incorrect Placement: Placing the lash too close to the eyelid can cause discomfort. Ensure a small gap for comfort and natural movement.
- Not Cleaning Lashes: Dirty lashes can lead to a poor bond and the lashes won't last.
Shop our DIY lash kits here, which include everything you need to get started.


